
Step-by-Step Guide: Achieving the Perfect Fade at Home


Introduction to Fading Hair at Home
Achieving the perfect fade haircut at home can seem daunting, but with the right tools and techniques, you can master it without stepping foot in a barbershop. Fades are versatile and stylish, suitable for various hair types and personal styles. Follow this step-by-step guide to learn how to achieve a professional-looking fade haircut in the comfort of your home.

Gathering the Necessary Tools
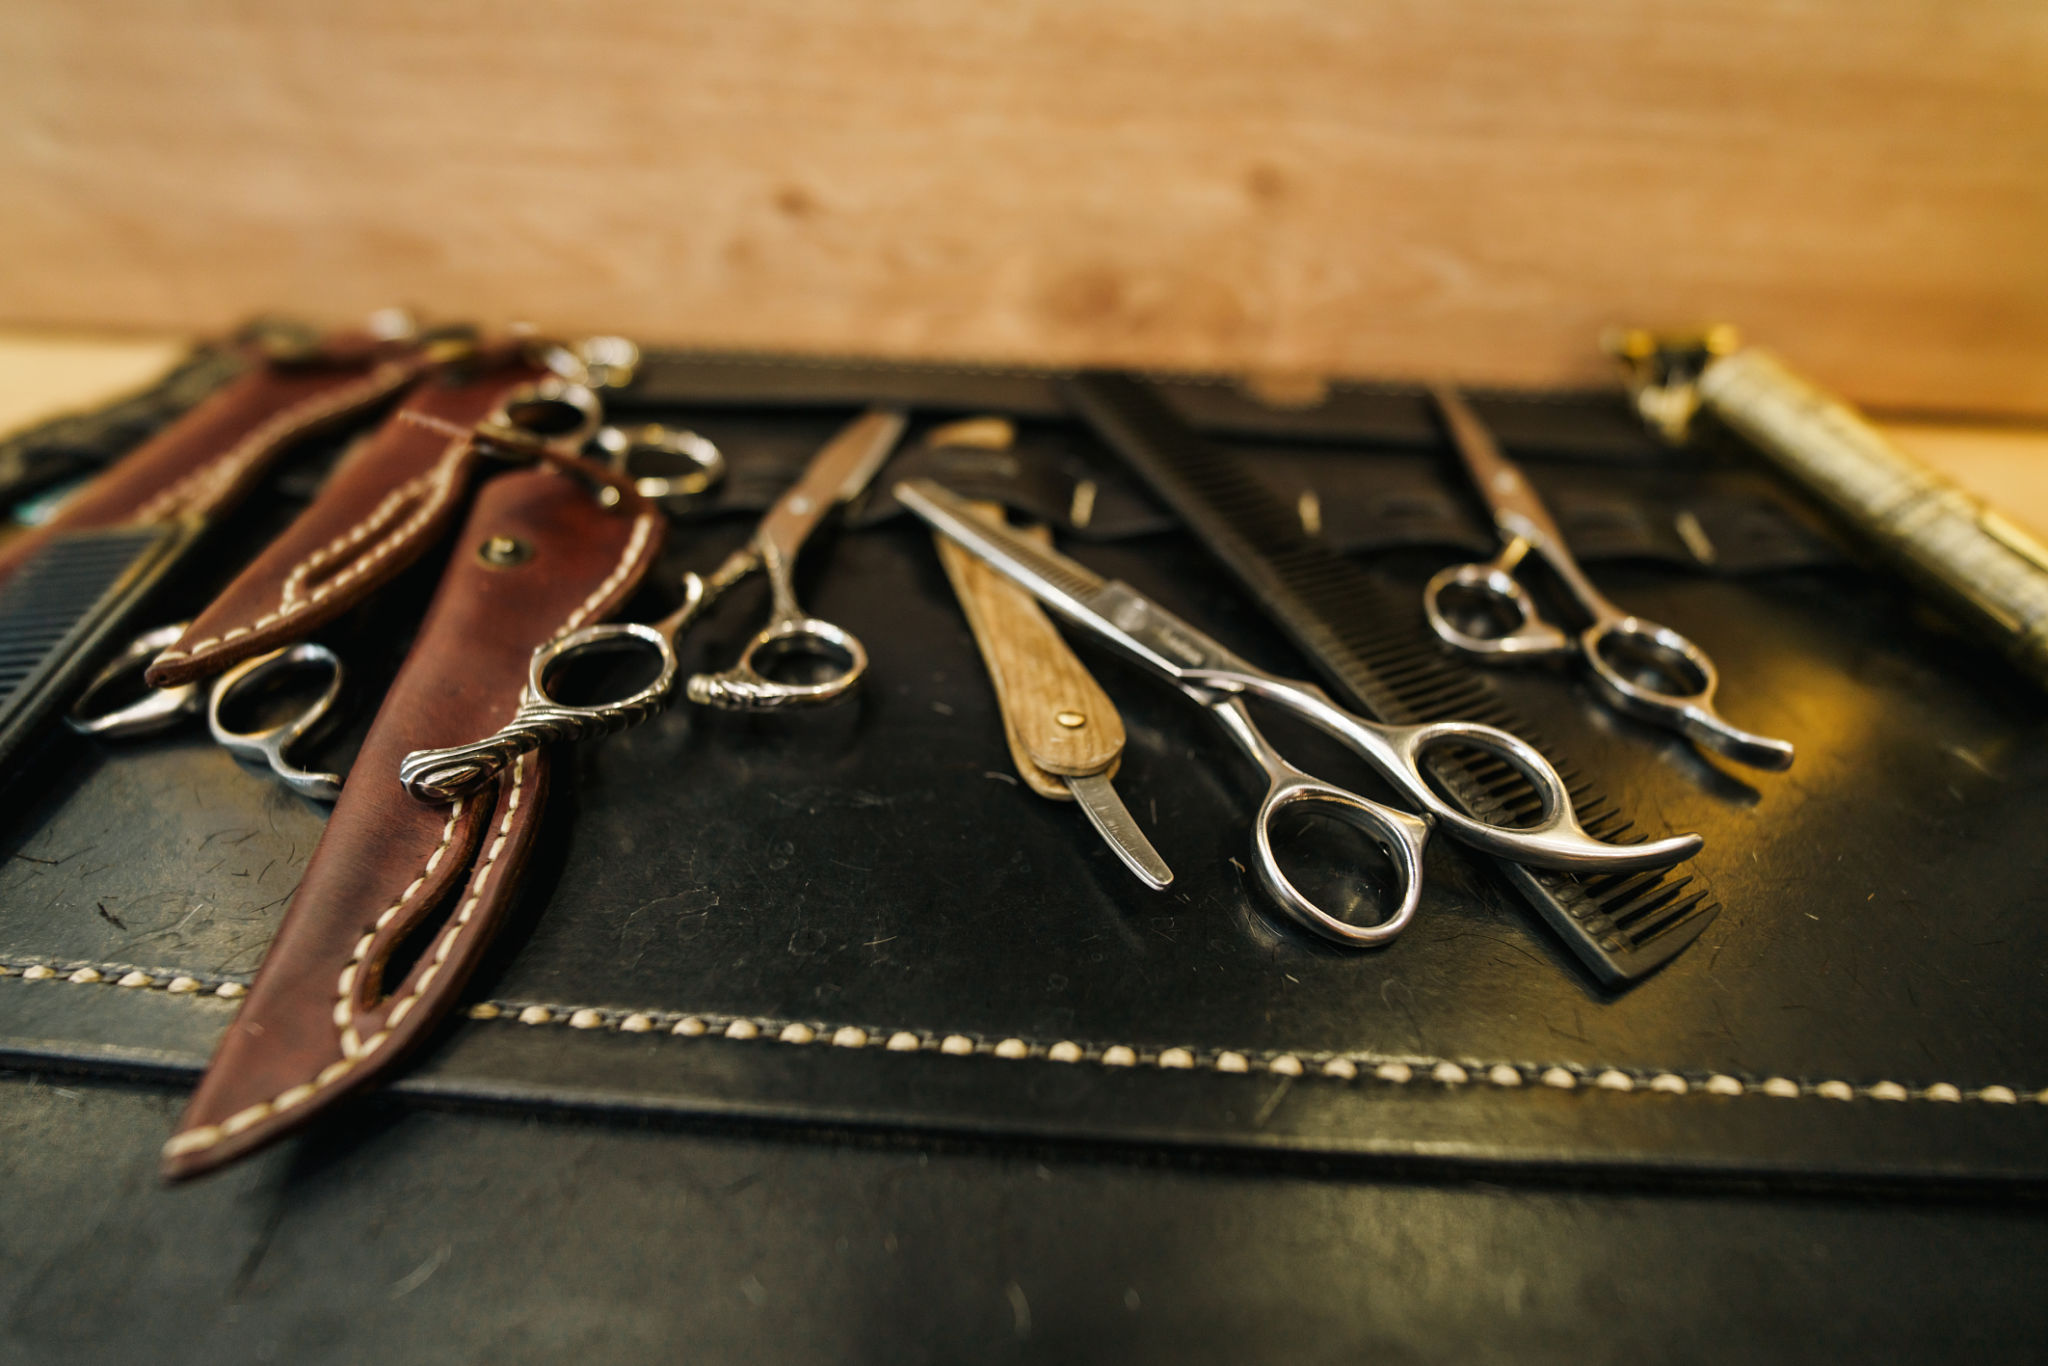
Before you begin, make sure you have all the necessary tools. Here's what you'll need:
- Clippers with adjustable guards
- Scissors
- A mirror (preferably two)
- A comb
- Clipper oil for maintenance
Having these tools on hand will make the process smoother and help you achieve a cleaner cut.
Choosing the Right Fade Style
The first step is to decide on the type of fade you want. Common styles include:
- Low Fade: Starts just above the ear and curves around the head.
- Mid Fade: Begins between the temple and the ear, suitable for a balanced look.
- High Fade: Starts at or above the temple, offering a bold and dramatic appearance.
Select a style that complements your hair texture and personal preference.
Preparing Your Hair
Before cutting, ensure your hair is clean and dry. Wet hair can appear longer, leading to uneven cutting. Use a comb to detangle any knots and ensure your hair is lying flat. This step is crucial for achieving an even fade.
Starting the Fade
Begin with the longest guard and work your way down. This approach helps avoid cutting too much hair off initially. Start from the bottom of the hairline and move upwards, flicking the clippers outwards as you reach the desired height. This technique ensures a smooth transition between lengths.

Blending the Fade
The key to a perfect fade is blending. Switch to a shorter guard and repeat the previous step, focusing on the area where the longer and shorter lengths meet. Use a comb to check for any uneven spots and adjust as necessary. Patience is vital during this stage.
Finishing Touches
Once you're satisfied with the fade, use scissors to trim any stray hairs around the edges for a polished look. Pay special attention to areas around the ears and neckline. A precise finish can significantly enhance the overall appearance of your haircut.
Maintaining Your Fade
A fade haircut typically lasts about two to three weeks before it needs touching up. Regular maintenance can prolong its sharp appearance. Keep your clippers clean and oiled to ensure they work efficiently for future cuts.
With practice, achieving a perfect fade at home becomes easier and more efficient. Enjoy the satisfaction of mastering this skill and experimenting with different styles that best suit your look!